
YT International P51D Mustang - as supplied parts |
 |
 |
 |
 |
 |
 |
| 1. Click to enlarge | 2. Click to enlarge | 3. Click to enlarge | 4. Click to enlarge | 5. Click to enlarge | 6. Click to enlarge |
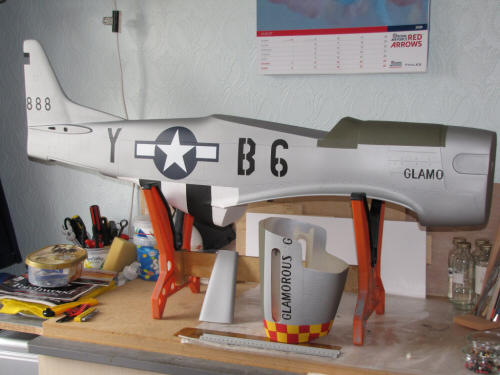
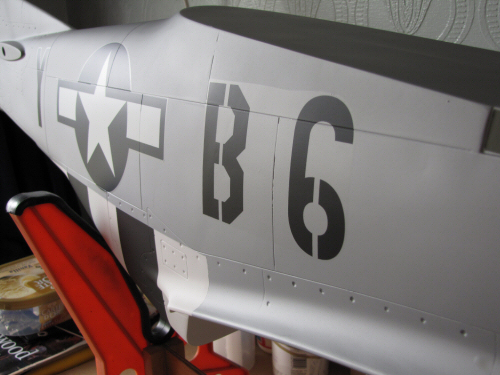
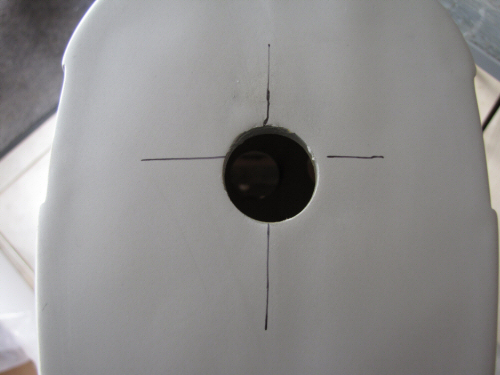
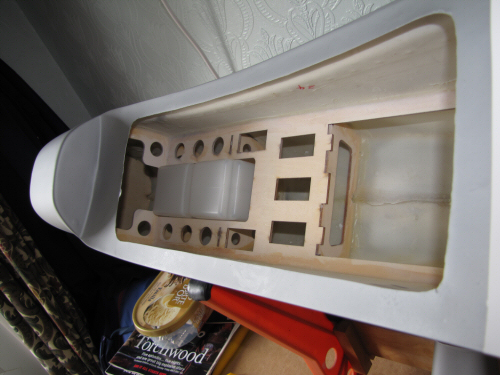
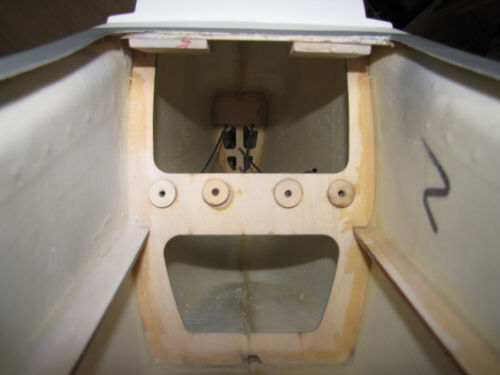
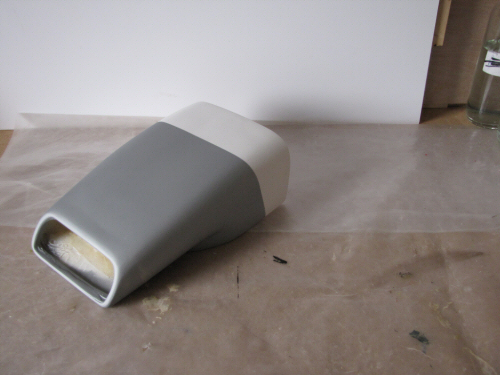
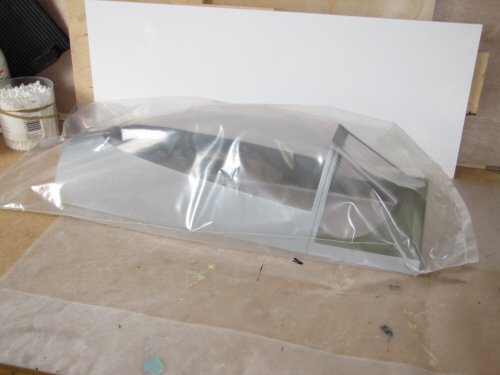
The box came nicely packaged with every item having sufficient packaging to protect it. so here goes with the goodies inside! Pic 1. The fuselage is all glass with the water slide markings ready applied and sealed with epoxy paint for protection. A nice finish has been achieved here and the glass cowl fits very nicely onto the airframe. Pic 2. In the right light you can see the ghostly image of the water slide on the paintwork. The decals appear to have been carefully applied to the surface with no defects. Pic 3. The centre line for the engine mounting look a little rough to me. I would have far preferred something that was much more positive looking and . . . well straighter! Pic 4. Inside the fuselage there is plenty of room for the radio equipment, I have fitted the fuel tank in it's designed position, and can't work out why it is not much further forward touching the fire wall like most installations. This will probably get modified to fit tight to the front during the build. If the reason for it's location is balance then I have good reason to move it forward as I intend making some modifications that will make the tail end heavier. Pic 5. To the rear the installed wire guides for the rudder and elevator have been broken off by me before taking the picture, I will be re-fitting in new locations at a later date. Pic 6. The air scoop is formed from glass cloth rather than blown plastic so will be a pleasure to install I am sure. |
 |
 |
 |
 |
 |
 |
| 1. Click to enlarge | 2. Click to enlarge | 3. Click to enlarge | 4. Click to enlarge | 5. Click to enlarge | 6. Click to enlarge |
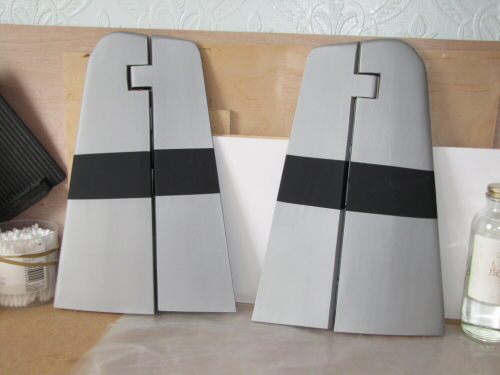
Pic 1. The wings are built up with hollow sections on the underside of the wing. The flaps are supplied with real hinges, while the ailerons are supplied with fibre hinges common to most ARF's these days. Pic 2. Wheel well trays are pretty much standard. I personally don't like them and will be fitting a thin ply liner. Pic 3. An optional extra supplied with the Mustang are the wing mounted fuel tanks which are produced from vacuum plastic. I might fit these and I might not. If I do there will certainly be some form of mechanism more scale like than the 2 wooden dowel parts with the kit. Pic 4. The Horizontal stab and elevator are well shaped and nicely finished. It's a shame I am going to rip off the covering really! Pic 5. The rudder is straight forward looking and finished as the elevators and fully sheeted from what I can tell. Pic 6. The canopy is a single unit vacuum formed part which will no doubt fit very well to the fuselage. I am not taking it out of the bag until much later in the build as I do not want to scratch it like I did the ME109 unit. |
 |
 |
 |
 |
||
| 1. Click to enlarge | 2. Click to enlarge | 3. Click to enlarge | 4. Click to enlarge | 5. Click to enlarge | 6. Click to enlarge |
| 31/08/2009 |
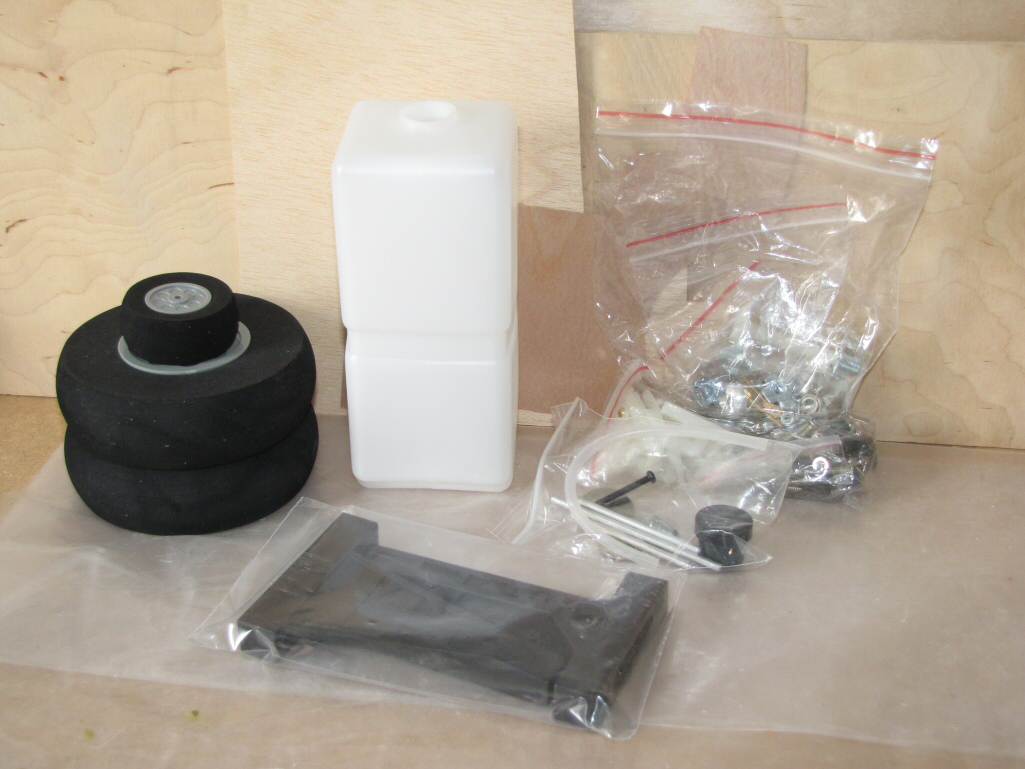
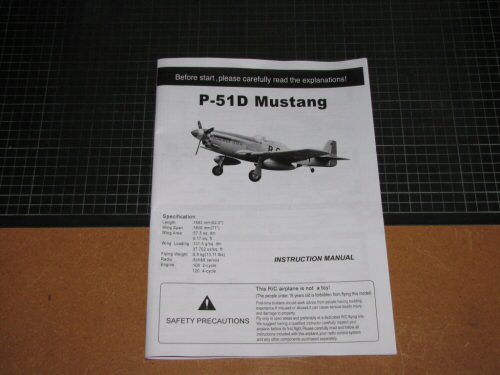
Pic 1. The traditional "bag of metal bits", engine mounts, and wheels, are pretty much standard quality of YT kits. Everyone has different opinions on the contents of these bags so I will not shear mine here. You will no doubt see what I do and don't use as the build progresses. Pic 2. Another bag contains the wheel covers, Elevator bar, wire for control surfaces, wooden blocks, and push rods. Pic 3. The wing guns and the exhaust ports are formed from vacuum shaped plastic and painted. I will be altering these parts in the build so these items will be redundant. Pic.4. Those oh so important "Explanations" which we must follow carefully or our plane will certainly crash! Straight forward instructions here as usual with YT International, and if you ruin them by dropping epoxy on them you can go to the YT web site and download replacement sheets. A good idea that should be available from more manufacturers!
|
 |
 |
 |
 |
 |
|
| 1. Click to enlarge | 2. Click to enlarge | 3. Click to enlarge | 4. Click to enlarge | 5. Click to enlarge | 6. Click to enlarge |
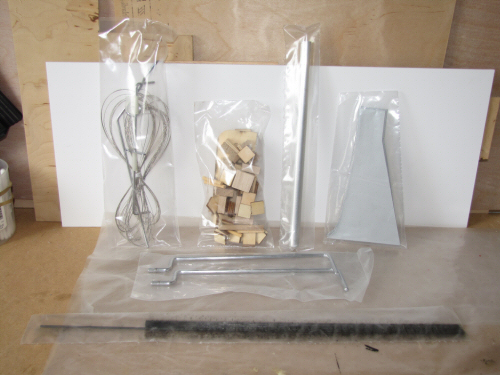
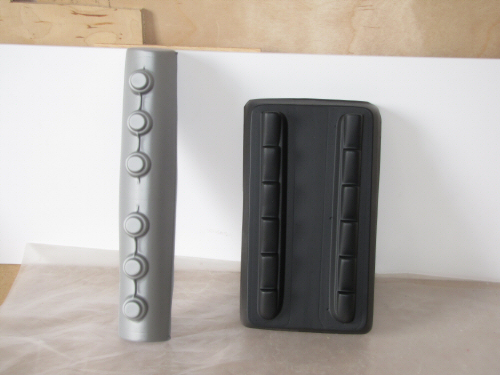
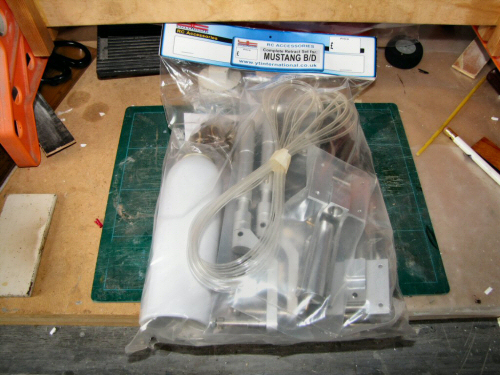
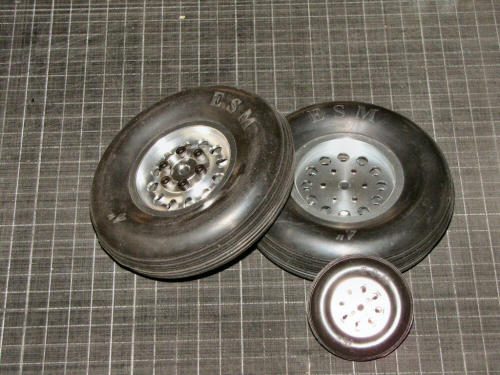
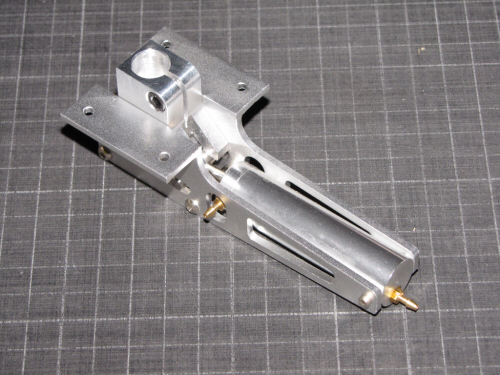
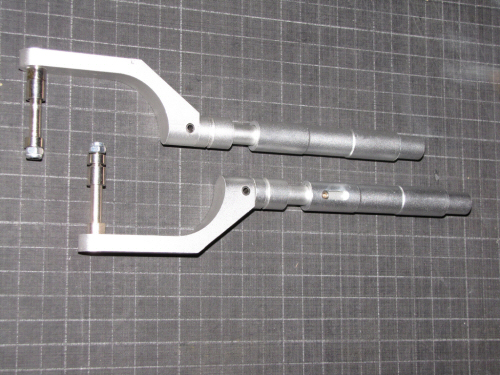
Optional parts available for the kit are the Air Up / Air Down retracts and a bag of goodies to make them work. I decided to give them a go as they do appear to be a great improvement on the very first retract units that were offered. Pic 1. Shows one of the more expensive bags of bits you can purchase for a model! Pic 2. Opened up the parts appear nicely manufactured and complete. Pic 3. The wheels are a very nice design and have some nicely weighted (as in light) tyres sporting aluminium hubs. While not exactly scale they are a very plausible solution. Pic 4. The actual retract units are produced from milled aluminium stock. Much more meat to them, but not as much as the ME109 retracts for the ME109 from Shindin Machine. Only time will tell if they are truly up to the task! Pic 5. The OLEO legs have what feels to be a nicely weighted set of springs which should take the weight of the model without any problems.
Note: If preferred you can also purchase Air Up / Spring Down retract from YT. |