
Mick Reeves 1/6 Scale Spitfire Review |
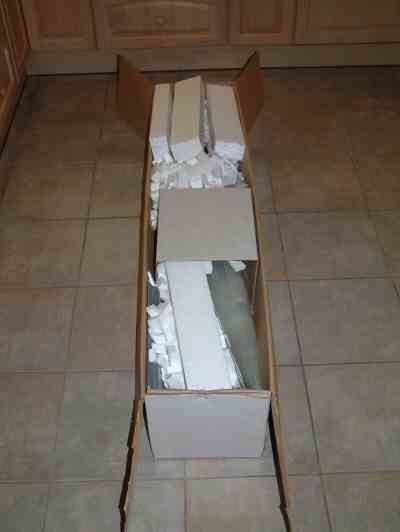 |
The delivery box arrived without any visible signs of damage. All parts were very well wrapped in newspaper and good old styrene chips. Only a small mark on the Fuselage. Click image for better view. |
|
 |
 |
 |
 |
 |
 |
| 1. Click to enlarge | 2. Click to enlarge | 3. Click to enlarge | 4. Click to enlarge | 5. Click to enlarge | 6. Click to enlarge |
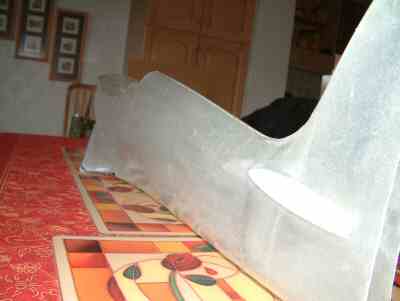
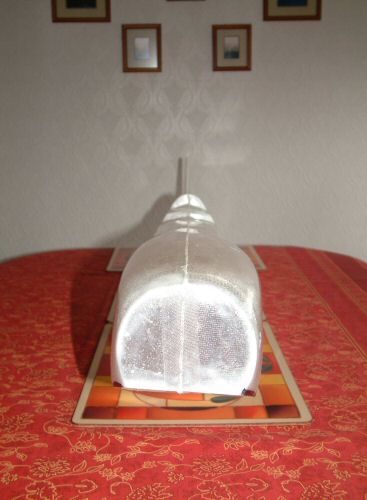
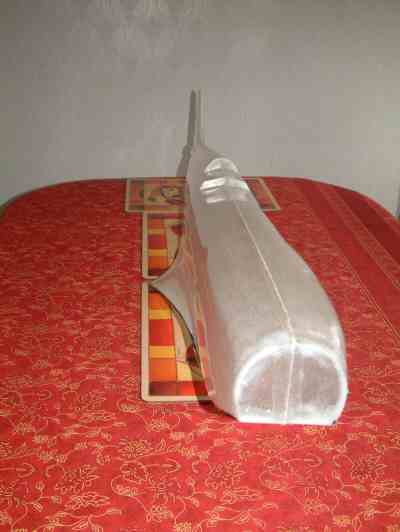
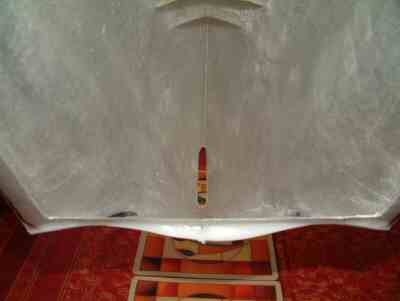
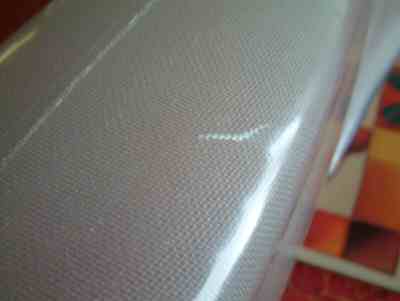
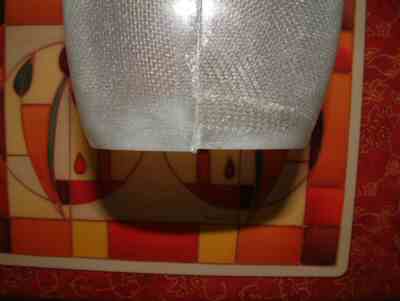
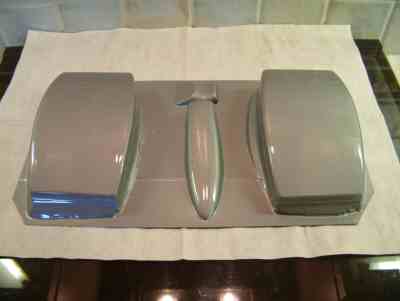
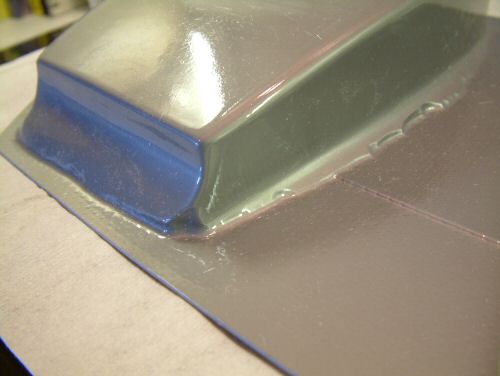
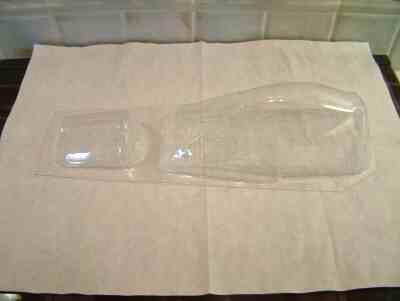
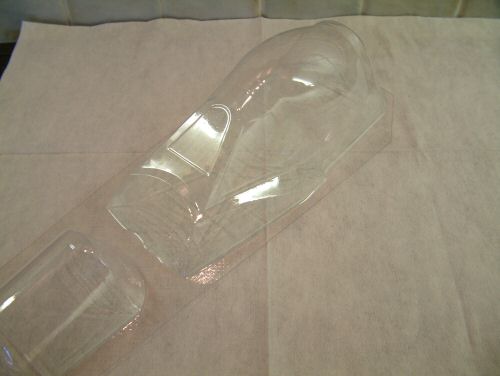
The Epoxy fuselage is fabricated in 2 halves and then glassed together. I am a little concerned by the jointing of the 2 halves. Pic 1. is a general shot of the unit. What is not so visible are numerous bumps and ridges built into the molding to add some realism - a nice touch. Pic 2. a front on view showing the twist in the shell. Note the flat underside at the front where the lower cowl installs. Clearly skewed and sloping off to one side giving me some concerns about workmanship and / or the condition of the mould. Pic 3. another general view from the front this time. Pic 4. Internal view to rear. Pic 5. A small bit of damage not too serious. Pic 6. The front showing some offset of the 2 halves. Another detail not visible in the pictures is the fin is not exactly in line with fuselage, drifting to the left if viewed from behind. I will put a few formers in before casting final judgment. See the glass fuselage build here. Eventually it was returned! |
Click larger view
|
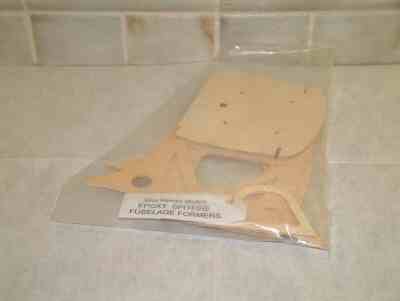
The Fuselage is filled out with plywood formers which are of reasonable quality for the firewall but a lesser quality for the remaining sections. To fix these parts in position I will be using Fiber-Poxy with some additional glass fibre pushed into the joint for strength. |
 Click to enlarge
|
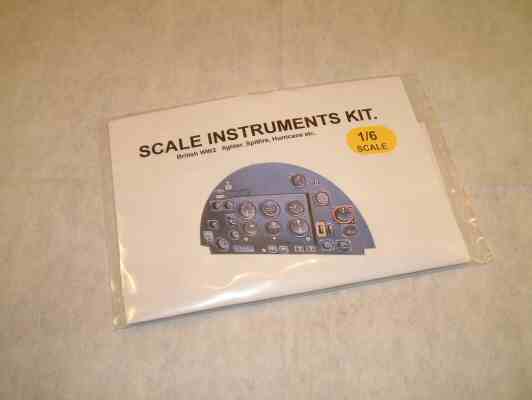
The instrument panel is a simple print on paper which is laminated with light-ply and plastic film to give some depth to the dials. Simple but effective. I was not overly impressed by the quality of the printing used on the panel. We shall have to see about that later ;-) |
 |
 |
 |
 |
| 1. Click to enlarge | 2. Click to enlarge | 3. Click to enlarge | 4. Click to enlarge |
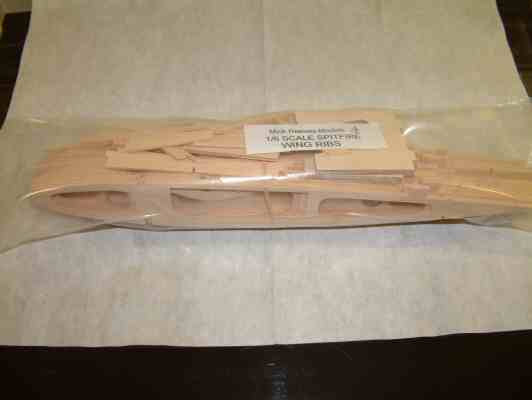
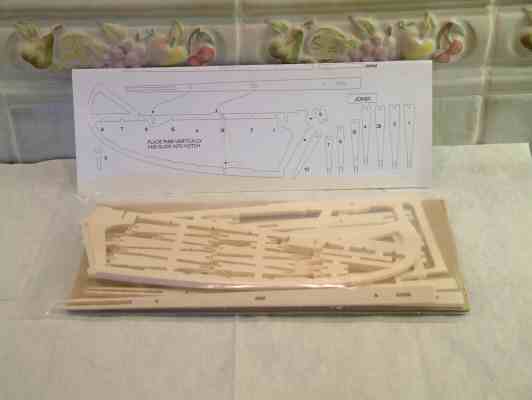
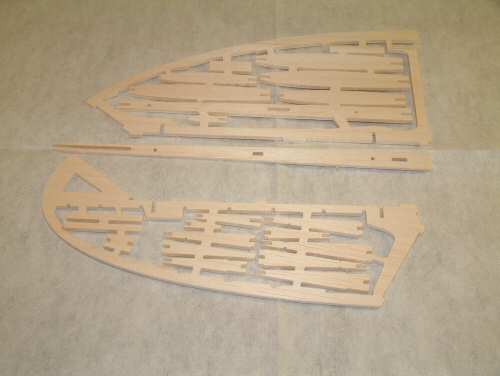
Pic 1. The wing ribs are CNC cut ply. Not the most impressive wood used but should suffice once built up. I have seen several reports complaining about the poor quality of the CNC cutting, and warped wood. None of the parts supplied were damaged in this way. Pic 2, 3. In a change from what is shown on the plans the rear stabiliser and elevator is now provided as a small semi-kit. All the rips are cut from the core making the stabiliser frame. The stabiliser is then sheeted with 1/16" sheet (not supplied) and the elevator is covered with cloth. Pic 4. Similarly the Rudder is now in kit form, constructed in a similar way to the rear stabiliser and elevator. |
 |
 |
 |
 |
 |
| 1. Click to enlarge | 2. Click to enlarge | 3. Click to enlarge | 4. Click to enlarge | 5. Click to enlarge |
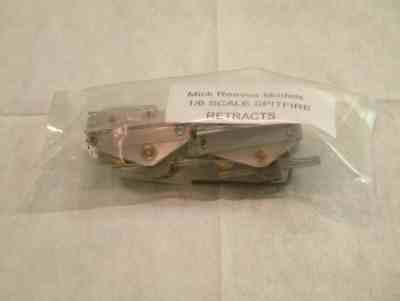
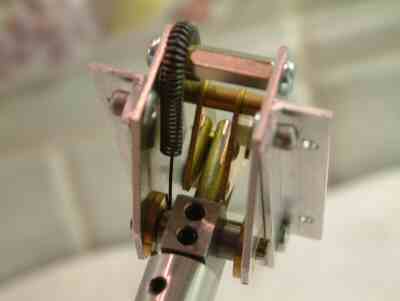
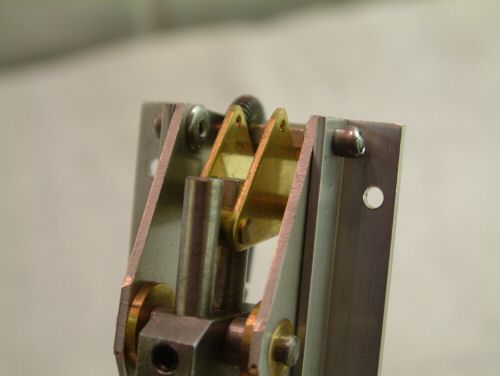
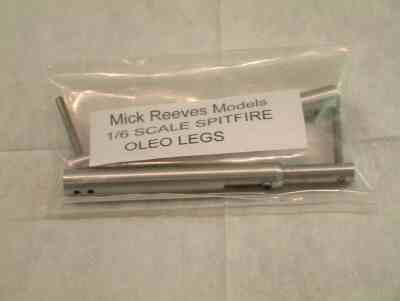
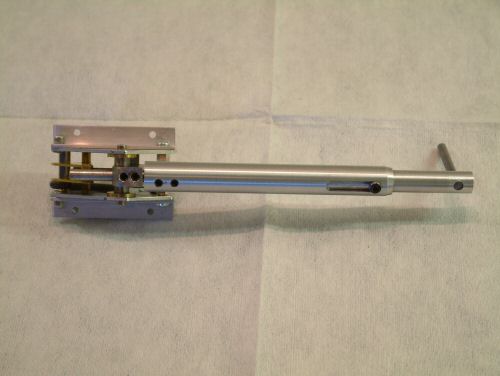
The retracts are all metal construction with pre-tensioned spring so that the servo is not overloaded. I chose not to buy the Mick Reeves Servo as I have heard storied of how over powerful the unit is. Consequently I have stuck to my favoured Futaba S136G servo for powering the retracts. The OLE Legs look pretty straight forward looking. Never had any close up before so I am not qualified to comment on their suitability. |
 Click to enlarge
|
The wheels are nothing fancy. They are bog standard 4" wheels which will require some hacking of the upper skin of the wing to make them fit so I have heard. I am contemplating an alternative, and more scale like wheel with a slimmer profile so the hacking will not be necessary. Robart do a nice 4" wheel and I will get some next time I am in a Model Shop. |
 Click to enlarge |
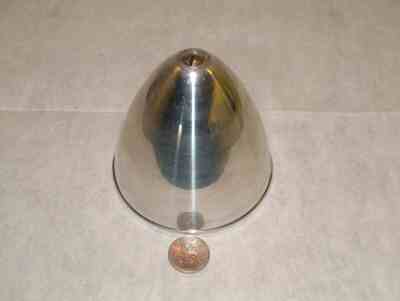
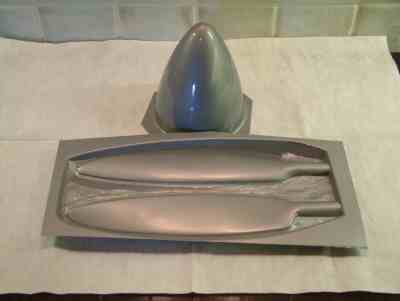
The 4" Spinner is all metal in construction. Looks OK to me. |
 Click to enlarge |
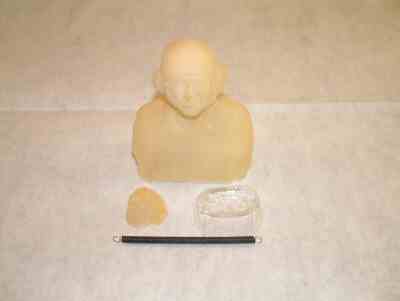
Not sure what this is :) I will have to come up with something else here. An Elite Force WWII pilot Wing Commander Gordon maybe? I will have to monitor eBay for this one I think ;) |
Click to enlarge
|
The engine mount is nothing special, just 2 lumps of alloy and some rubber fixing mounts for the firewall. Should not be any problems here. |
 Click to enlarge
|
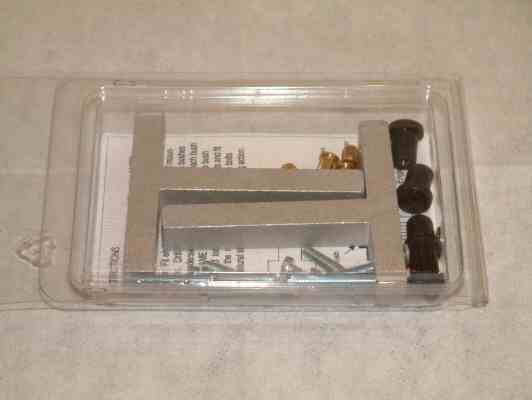
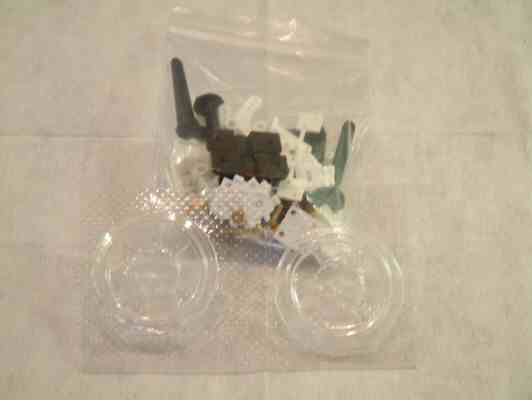
The bag of bits includes plenty of plastic hinges, push rod arms for the ailerons and the flaps, dummy covers for the wheels to make them look scale, and a collection of nuts and bolts etc. Some will be used and some will not! Note: As mentioned earlier the supplied rudder, stabiliser and elevator all have pre drilled holes for bullet hinges which are not supplied. Mick has clearly revised the build of these parts from what is on the plans and not amended the parts in this bag to reflect the current build techniques. |
 |
 |
 |
 |
 |
| 1. Click to enlarge | 2. Click to enlarge | 3. Click to enlarge | 4. Click to enlarge | 5. Click to enlarge |
I purchased the scale prop for when the model in on "view" so it looked at least something like when static. Not too keen on this setup, but I will give the styrene version a go. |